Svelte and Django: A Dynamic Duo for Modern Web Development
Motivation
Having built a production application with Django and Svelte it feels like the perfect match for me. Having the batteries included approach from Django and the modern way of building a frontend with Svelte was a key for success for this project, which included a highly interactive map based UI. For other pages like settings and other stuff HTMX was used. For this tutorial we are recreating a similar app integrating Svelte with Django. The Github repo for this sample project django_svelte.
Getting started
mkdir svelte-django
cd svelte-django
Django
python -m venv env
source env/bin/activate
pip install django whitenoise
Project setup in Django
django-admin startproject application
cd application
Validate installation of django with python manage.py runserver. Apply migrations with python manage.py migrate.
Create a django app which handles the business logic and out frontend.
python manage.py startapp map
cd map
touch urls.py
Then create a new url in map/urls.py and create a file map/templates/map/index.html.
The index.html will be changed later.
from django.urls import path
from django.views.generic.base import TemplateView

from . import views

urlpatterns = [
    path("", TemplateView.as_view(template_name="map/index.html"), name="index")
]
Also update your projects urls.py (application/urls.py) with the following and update the settings.py file.
from django.contrib import admin
from django.urls import include, path

urlpatterns = [
    path("admin/", admin.site.urls),
    path("", include("map.urls")),
]
INSTALLED_APPS = [
"map.apps.MapConfig",
"django.contrib.admin",
"django.contrib.auth",
"django.contrib.contenttypes",
"django.contrib.sessions",
"django.contrib.messages",
"django.contrib.staticfiles",
]
MIDDLEWARE = [
"django.middleware.security.SecurityMiddleware",
"whitenoise.middleware.WhiteNoiseMiddleware",
"django.contrib.sessions.middleware.SessionMiddleware",
"django.middleware.common.CommonMiddleware",
"django.middleware.csrf.CsrfViewMiddleware",
"django.contrib.auth.middleware.AuthenticationMiddleware",
"django.contrib.messages.middleware.MessageMiddleware",
"django.middleware.clickjacking.XFrameOptionsMiddleware",
]Finishing the Django setup
Also install the great package Django-Vite with pip install django-vite. This enables us using vite within the django application as well as Hot-Module-Reloading (HMR) while developement. For this update the settings.py file again and add django-vite to the installed apps. Also add the path for the static files.
INSTALLED_APPS = [
    ...
    'django_vite',
    ...
]

DJANGO_VITE_DEV_MODE = True


STATIC_ROOT = "/staticfiles"
STATIC_URL = "/static/"
DJANGO_VITE_ASSETS_PATH = BASE_DIR / "static" / "map" / "dist"

STATICFILES_DIRS = [str(BASE_DIR / "static"), DJANGO_VITE_ASSETS_PATH]
Svelte setup
Create a static folder in the project folder and install Svelte with Vite. Set the project name in the CLI to map and choose Svelte. If you prefer any other frontend framework you could choose that as well.
mkdir static
npm create vite@latest
cd map
npm install
npm run dev
Modify the App.svelte to look like that.
<script>
  import Counter from './lib/Counter.svelte'
</script>

<main>
  <div>
    <a href="https://svelte.dev" target="_blank" rel="noreferrer">
      <img src="static/map/assets/svelte.svg" class="logo svelte" alt="Svelte Logo" />
    </a>
  </div>
  <h1>Svelte + Django = ❤️</h1>

  <div class="card">
    <Counter />
  </div>
</main>

<style>
  .logo {
    height: 6em;
    padding: 1.5em;
    will-change: filter;
    transition: filter 300ms;
  }
  .logo:hover {
    filter: drop-shadow(0 0 2em #646cffaa);
  }
  .logo.svelte:hover {
    filter: drop-shadow(0 0 2em #ff3e00aa);
  }
</style>
After that it is time serve your Svelte application from django. The map/templates/map/index.html need to be tweaked as follows.
{% load django_vite %}

<!DOCTYPE html>
<html lang="en">
    <head>
        {% vite_hmr_client %}
        {% vite_asset 'main.ts' %}
    <meta charset="UTF-8">
    <meta name="viewport" content="width=device-width, initial-scale=1.0">
    <title>Django + Svelte = ❤️</title>
</head>
<body>
    <div id="app"></div>
</body>
</html>
If you have set up the paths and you are running Svelte and Django on two terminals. You get the Svelte application served from Django and you should see the following screen.
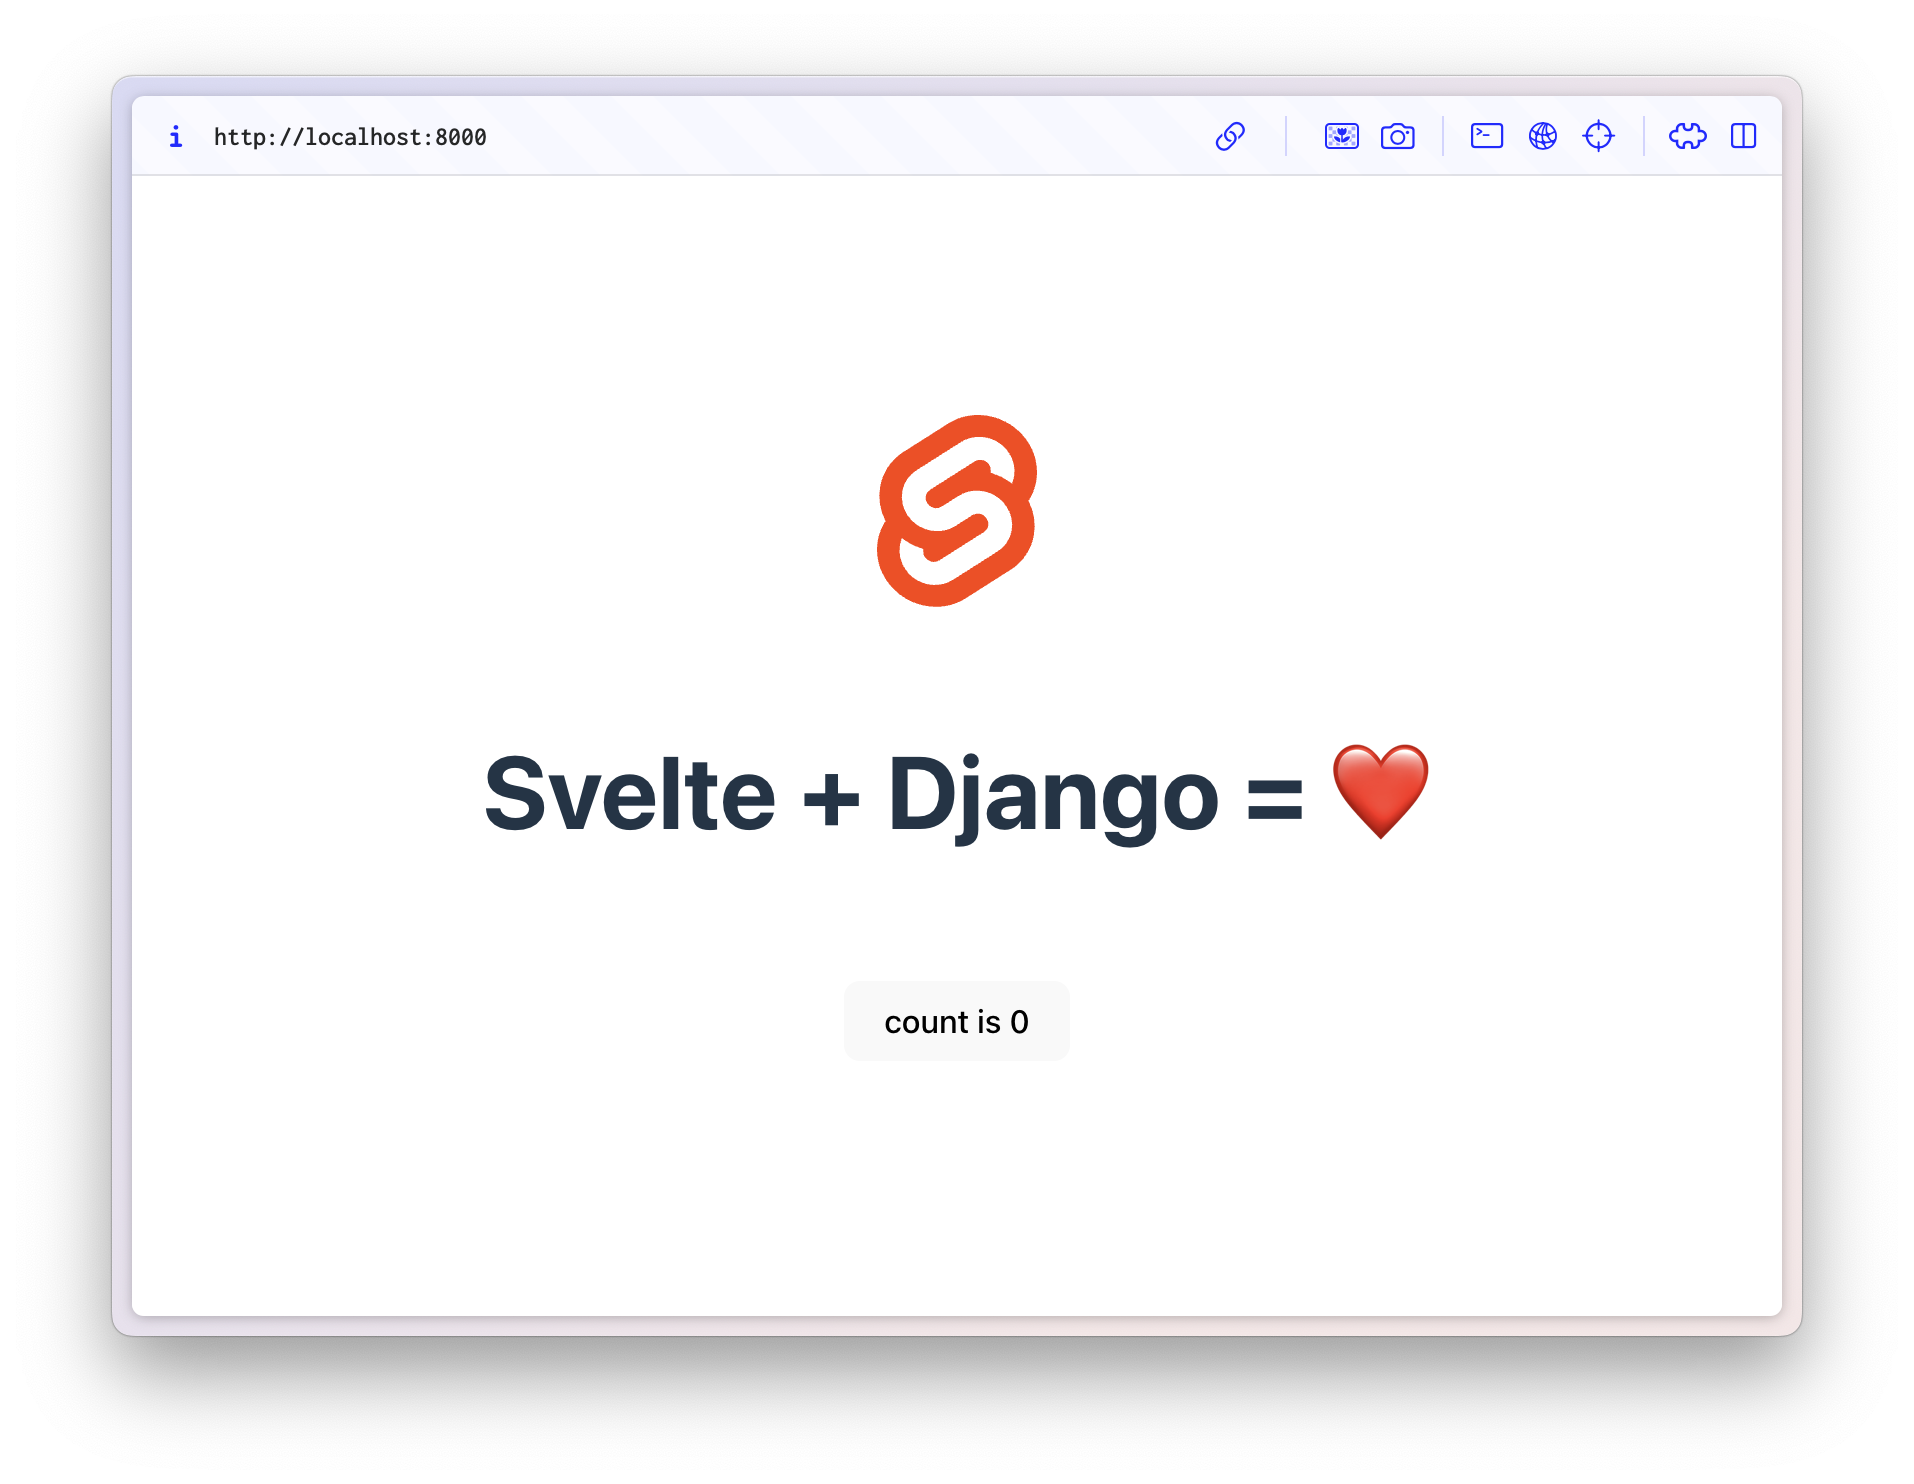 When you make a change in your Svelte application the page gets automatically reloaded without the need for reloading the whole page.
Bonus - 🔒 Authentification
Having the Svelte application served from Django you can use the built-in session auth for authentifying the user. You would go on and create a register and a sign-up view / url. After are logged in to the application you can pass a CSRF-Token to the views and the Svelte application.
{% load django_vite %}

<!DOCTYPE html>
<html lang="en">
    <head>
        {% vite_hmr_client %}
        {% vite_asset 'main.ts' %}
    <meta charset="UTF-8">
    <meta name="viewport" content="width=device-width, initial-scale=1.0">
    <title>Django + Svelte = ❤️</title>
</head>
<body>
    <div id="app"></div>
</body>
</html>
<script>
  document.cookie = "csrftoken={{ csrf_token }}"
</script>
In the Svelte-Application the cookie can be created in a store with export const csrfToken = readable(Cookies.get("csrftoken")) with the js-cookie and can be used for posting to an endpoint.